
Daughter-in-law Ashley teaches TOT (Teams of Tomorrow) Basketball to Pre-Preschoolers and Elementary students, and Granddaughters Aleyna and Abby were in her fun, upbeat classes! Of course, Aleyna and Abby needed special bows for classes and performances, so it was "Mamaw to the Rescue!"
Materials:
3/8" grosgrain ribbon in 3 colors
7/8" grosgrain sports ribbon
l bow clip
Tacky Glue
glue gun and glue sticks
needle and quilting thread
pencils or dowels
baking sheet
wood clothespins
Optional:
1-1/2" grosgrain ribbon for 3-layer bow
Directions:
1. Ribbon Spiral Layer
Preheat oven to 250 degrees.
To make the ribbon spirals, wrap 3/8" grosgrain ribbon around a pencil for about 4-1/2". Clip a wood clothespin onto each end of the ribbon around the pencil. Repeat to make 2 spirals of each of the 3 colors. Lay the wrapped pencils on a foil-lined baking sheet. Bake at 250 degrees for 20 minutes.


When the ribbon is cool, remove the clothespins. Carefully remove the ribbon spirals from the pencils.


Now you have 6 ribbon spirals!

Ms. Nancy's Tip: When making multiple bows, cut 36" dowels in half using a cutting tool. Wrap the dowels with the ribbon and follow directions above to make spirals.


Cut a piece of quilting thread about 30" long. Put the thread through the eye in the needle, and pull until ends are even. Tie a knot in the ends.
Lay one ribbon on top of another, staggered and crossing at the center. Continue until all 6 ribbons are evenly crossed.

Use the needle and thread to sew a few "tack" stitches in the center of the ribbons. (These stitches are like sewing on a button.)

2. Second Layer
Make the bottom bow. Cut a piece of cardboard 3" x 4". Wrap 7/8" ribbon 4 times around the 4" length of the cardboard until there are 4 loops on each end. Carefully remove cardboard without disturbing the loops, and pinch in the center of each ribbon.

Wrap quilting thread around the bow 5 times. Adjust the loops of the bow.

Insert the needle and thread through the center of the spiral bow. Sew a few stitches to secure the bows together. Wrap thread around the centers of both bows 5 times, and sew a few "tack" stitches to finish off.
Optional: Cut the thread on the bottom bow. Apply a small amount of tacky glue and hot glue to the center of the bottom bow. Center the spiral bow on top, and use a stick or plastic utensil to press the bows together.

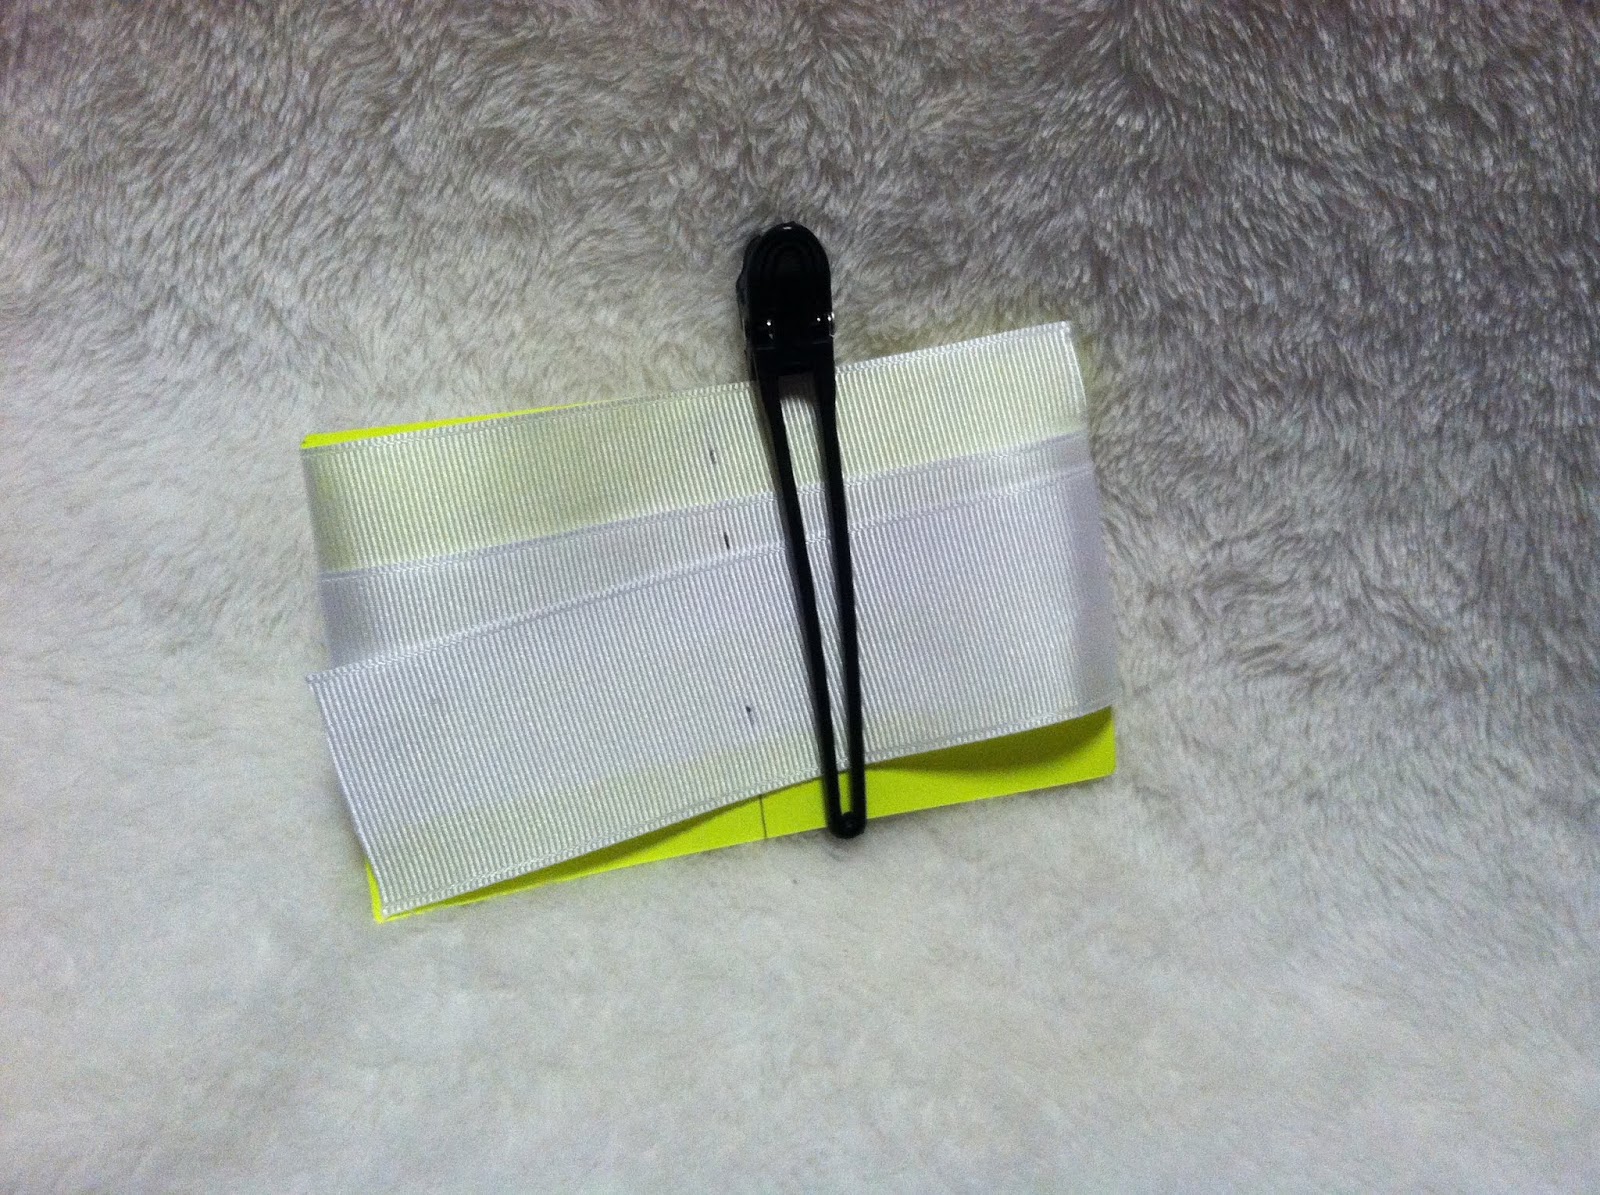
Covering and Attaching the Clip
Cut a 4-1/4" piece of 3/8" ribbon. With clip opened, apply a small amount of tacky glue and hot glue to the inside top of the clip. Carefully press the ribbon over the hot glue onto the clip. Apply hot glue to the top side of the clip; fold the ribbon over the top, pressing ribbon to glue. Add a small amount of hot glue to the top of the back of the clip, and press ribbon into place.


Trim the edges of the ribbon on the diagonal. Apply Fray Check to the edges of the ribbon to prevent raveling.

 |
| Completed 2-Layer Bow |
3-Layer Bow
Follow directions above for Spiral Layer and Second Layer.
For the 3rd Layer, use a 3" by 5" cardboard and 1-1/2" grosgrain ribbon to create a bow with 2 loops on each end.

Sew/glue 3rd layer bow to the bottom of the 4" bow before attaching the clip.

A button or small ornament can be added to the center for decoration.
|
| Completed 3-Layer Bow |
 |
| Backside of 3-Layer Bow |
Ms. Nancy's Notes:
- I always use Tacky Glue and Hot Glue when making bows. The Hot Glue glues fast, and the Tacky Glue glues long and strong!
- Always sew through the center of the ribbon when making a bow. This prevents the bow from being accidentally pulled apart.
 |
| Shine Time! |
 |
| Ms. TOT and Family! |
|
| Go TOT Team! |
No comments :
Post a Comment