
I love to bargain shop, especially in the Clearance Section of Outlet stores, and that's where I found this formerly expensive Designer t-shirt for less than $3.00! Other than a broken shoulder snap and being 2 sizes too big, it was perfect to Upcycle. Here's how I did this "Sew-Easy Project"!
Most shoppers would have passed up this "Diamond in the Rough", but I could tell it was a real gem.
Step 1 - Boxy to Semi-Fitted
Try the shirt on, and pin the excess in the bust area. It helps if you have a friend (or husband) to assist with the pinning. Also safety pins work better than straight pins for this step. (Believe me, I know!)
Continue pinning below the bust area.

Remove the shirt, turn inside out, measure, and re-pin.
Ms. Nancy's Note: It saves a step if you turn the shirt wrong side out before trying it on. It looks a little funny with the seams on the outside, but it's quicker in the long run.
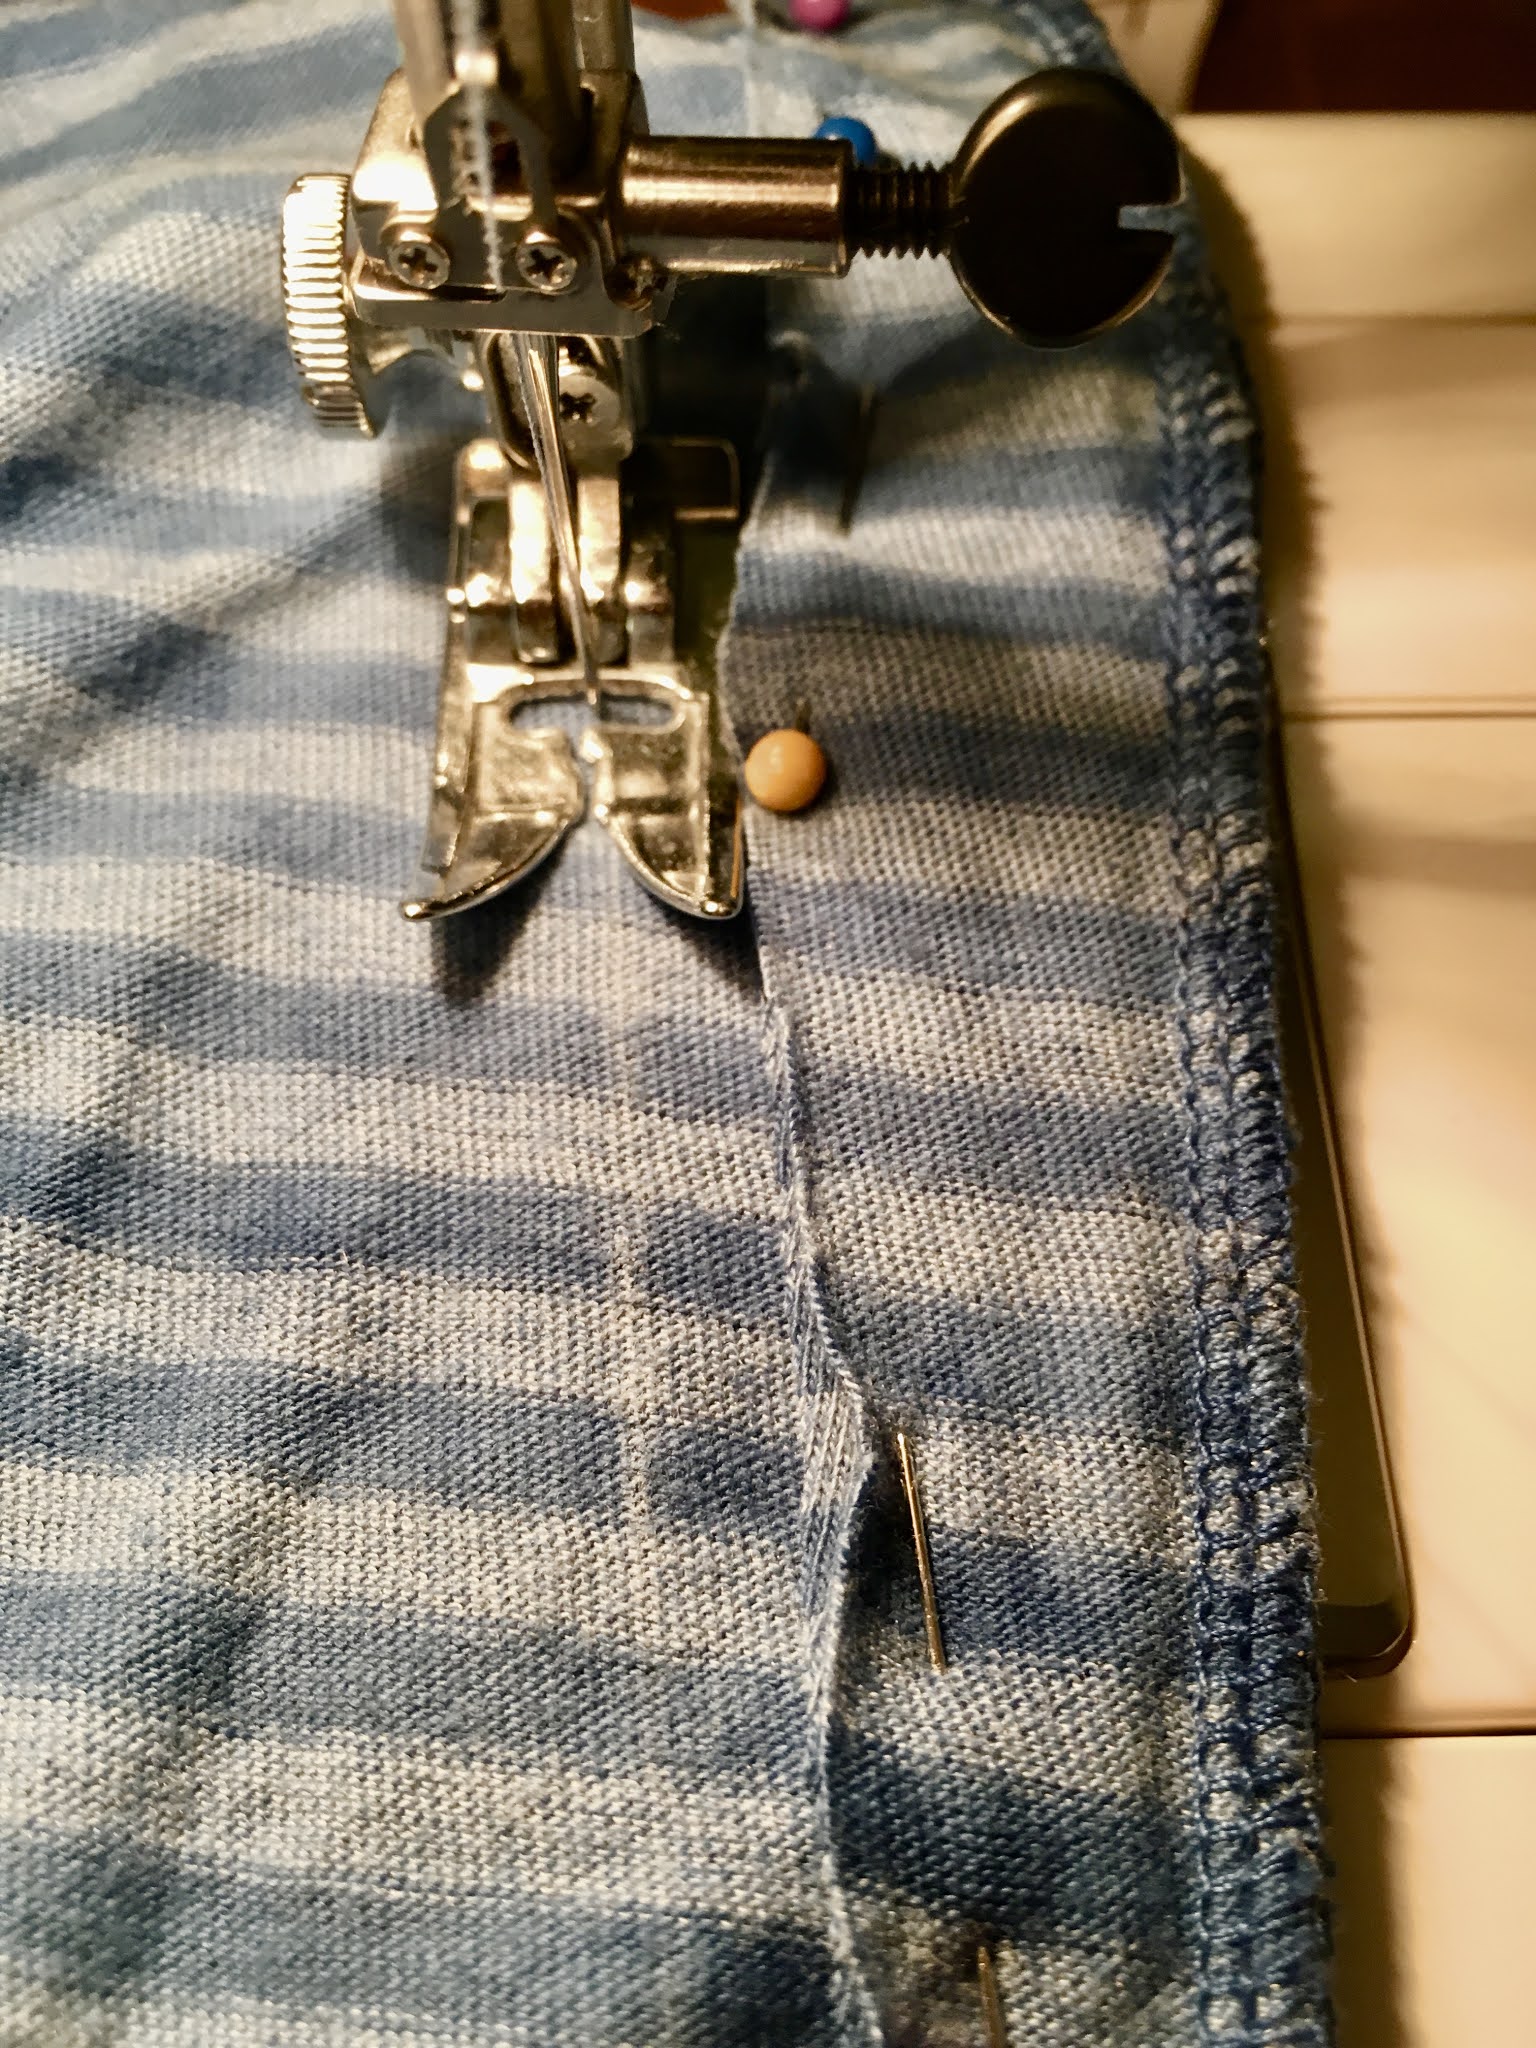
Use a piece of chalk to mark the stitching line, tapering into the existing seam, above and below the bust area.

Re-pin inside of the seam line. Sew along the chalked line.

Trim 3/8" outside of the seam.

Lay the cut section on top of the other side and pin. Use the chalk to mark the stitching line for this side.

Again, sew along the chalked line, and trim the seam.

Step 2 - The Broken Snap
Dilemma: How do you repair a broken snap? I have attached snaps to clothing, and I have a tool to do so. This snap, however, is large and would not fit the tool. The top part of the snap was still intact, but the bottom had torn through the fabric. Next problem, I searched, but I could not find a snap to match.
Solution: After much thought, I realized that this snap was simply decorative and did not need to "snap". It only held the top part of the cuff in place!
I simply removed the bottom part of the snap....
....and....

....sewed the tab holding the snap to the shirt. It worked! Just a few stitches on each side of the snap was all that was needed.

Floppy cuffs are a Pet Peeve of mine.
To fix this issue, "tack" the cuff to the sleeve in 3 places: under the arms and on both sides about halfway between the shoulder seam and under-arm seam. This can be done with a machine or hand stitch. Simple, but effective!


And now, it is done! I love my new Tunic! The color goes well with jeans as well as khaki and white, and even red, your choice! It's comfortable and stylish, my "go-to" for errands when I'm "On The Go".
So the next time you are shopping, check out the Clearance Racks. I hope you find a "Gold Mine", as I often do! And if you find a bargain that needs simple repairs, buy it anyway. Repairing and/or upcycling it is "Sew-Easy"!
|
| My "Go-To" Tunic! |
Cynthia, I would still straight stitch the seam, but you could serge instead of zigzag stitch to finish the seam. Let me know if you try it! Thanks!
ReplyDeleteGood luck! I would love to see a picture when you try it. Clearance racks are also a good place to look, especially at outlet stores.
ReplyDelete